

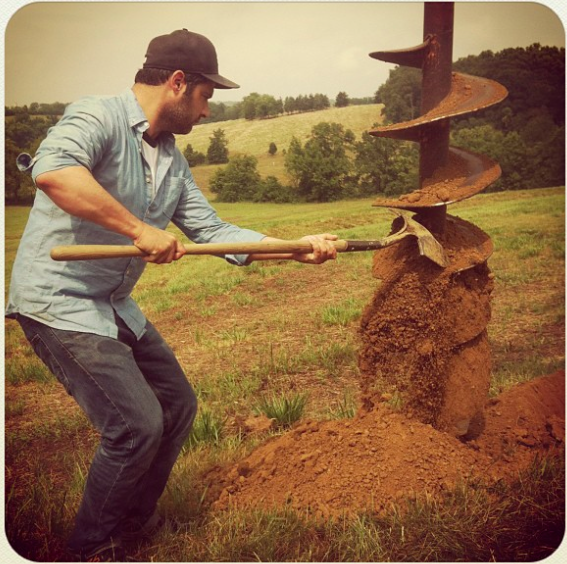
Raphael and I spent a month looking for the right venue; we wanted a quasi-industrial warehouse wedding. But despite all of the red brick in St. Louis, we couldn't find what we wanted. That's when, in a fit of genius, we decided to celebrate on the land where I grew up -- a centennial farm in Washington, Missouri.
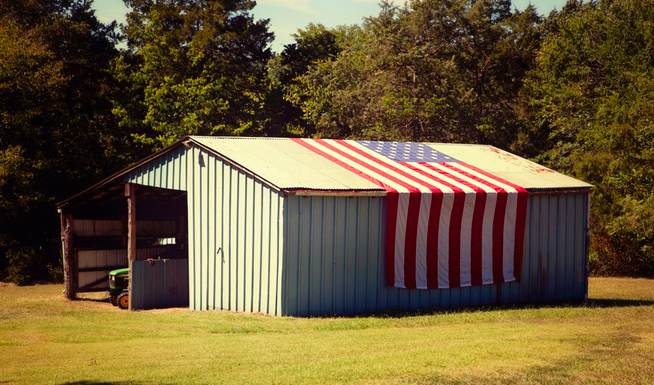
A mile down the road, in 1928, my grandfather met my grandmother on the day she was born. It was 38 degrees below zero that day, the coldest temperature in Missouri's recorded history. They were married 20 some odd years later, after grandpa returned from WWII, and settled on the farm where they raised seven children. Years later my father built a small house adjacent to his childhood home. A field, our backdrop, separated the two properties. When my father died in 2001, we moved to town, and so we chose the farm in reverence as much as anything else.
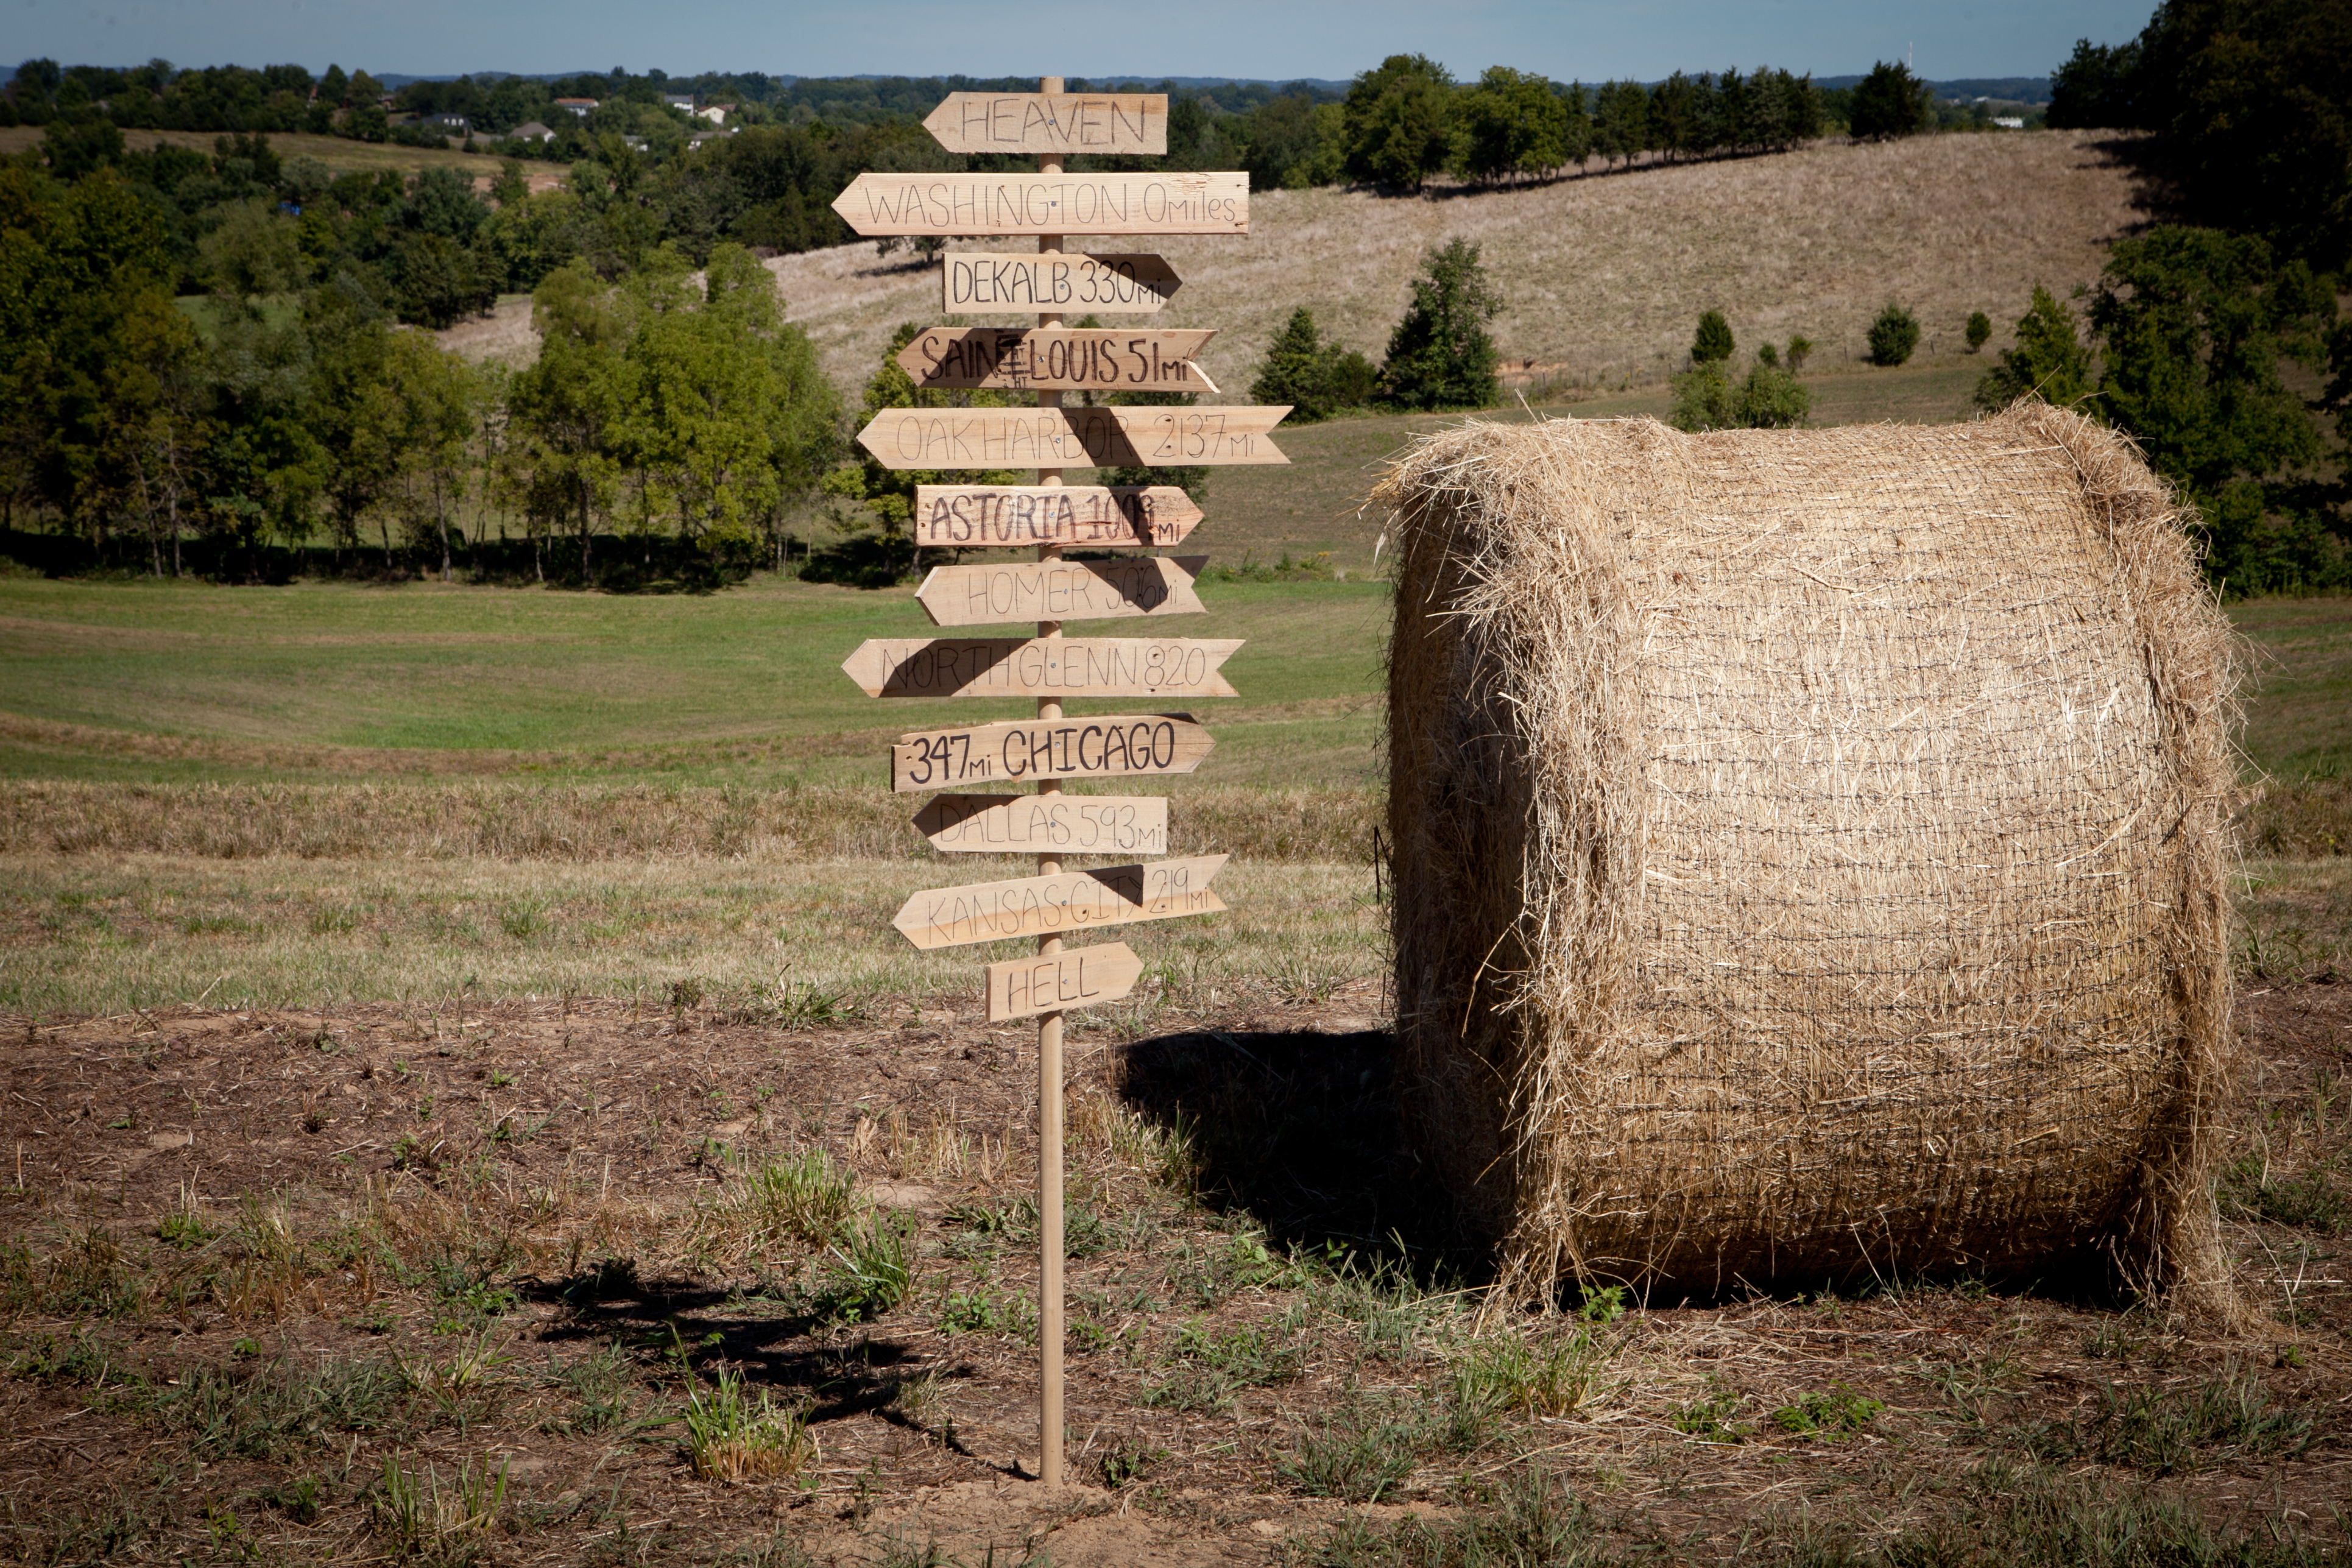
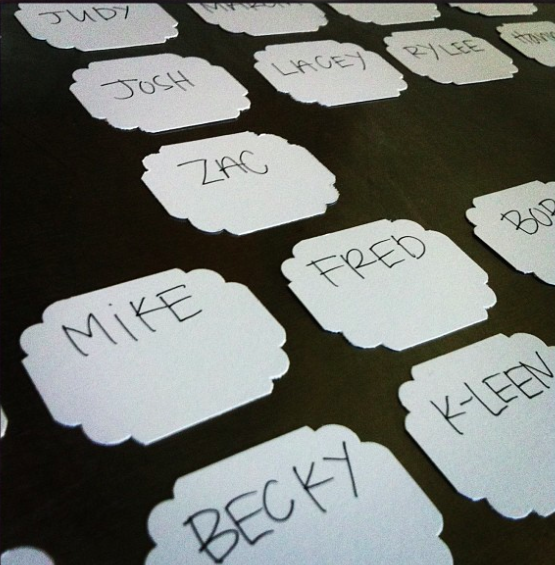
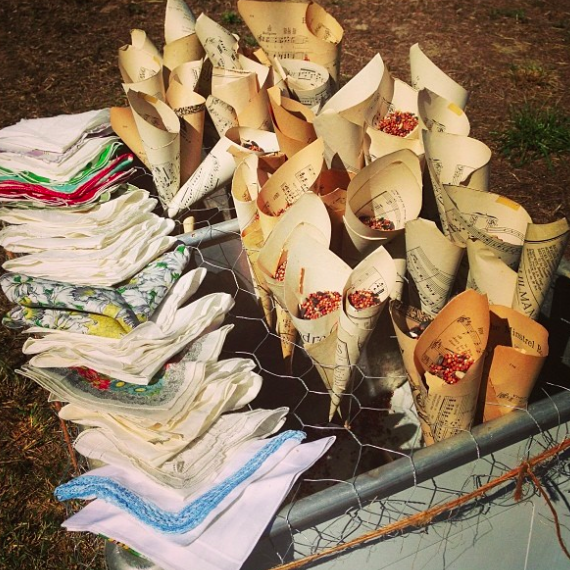
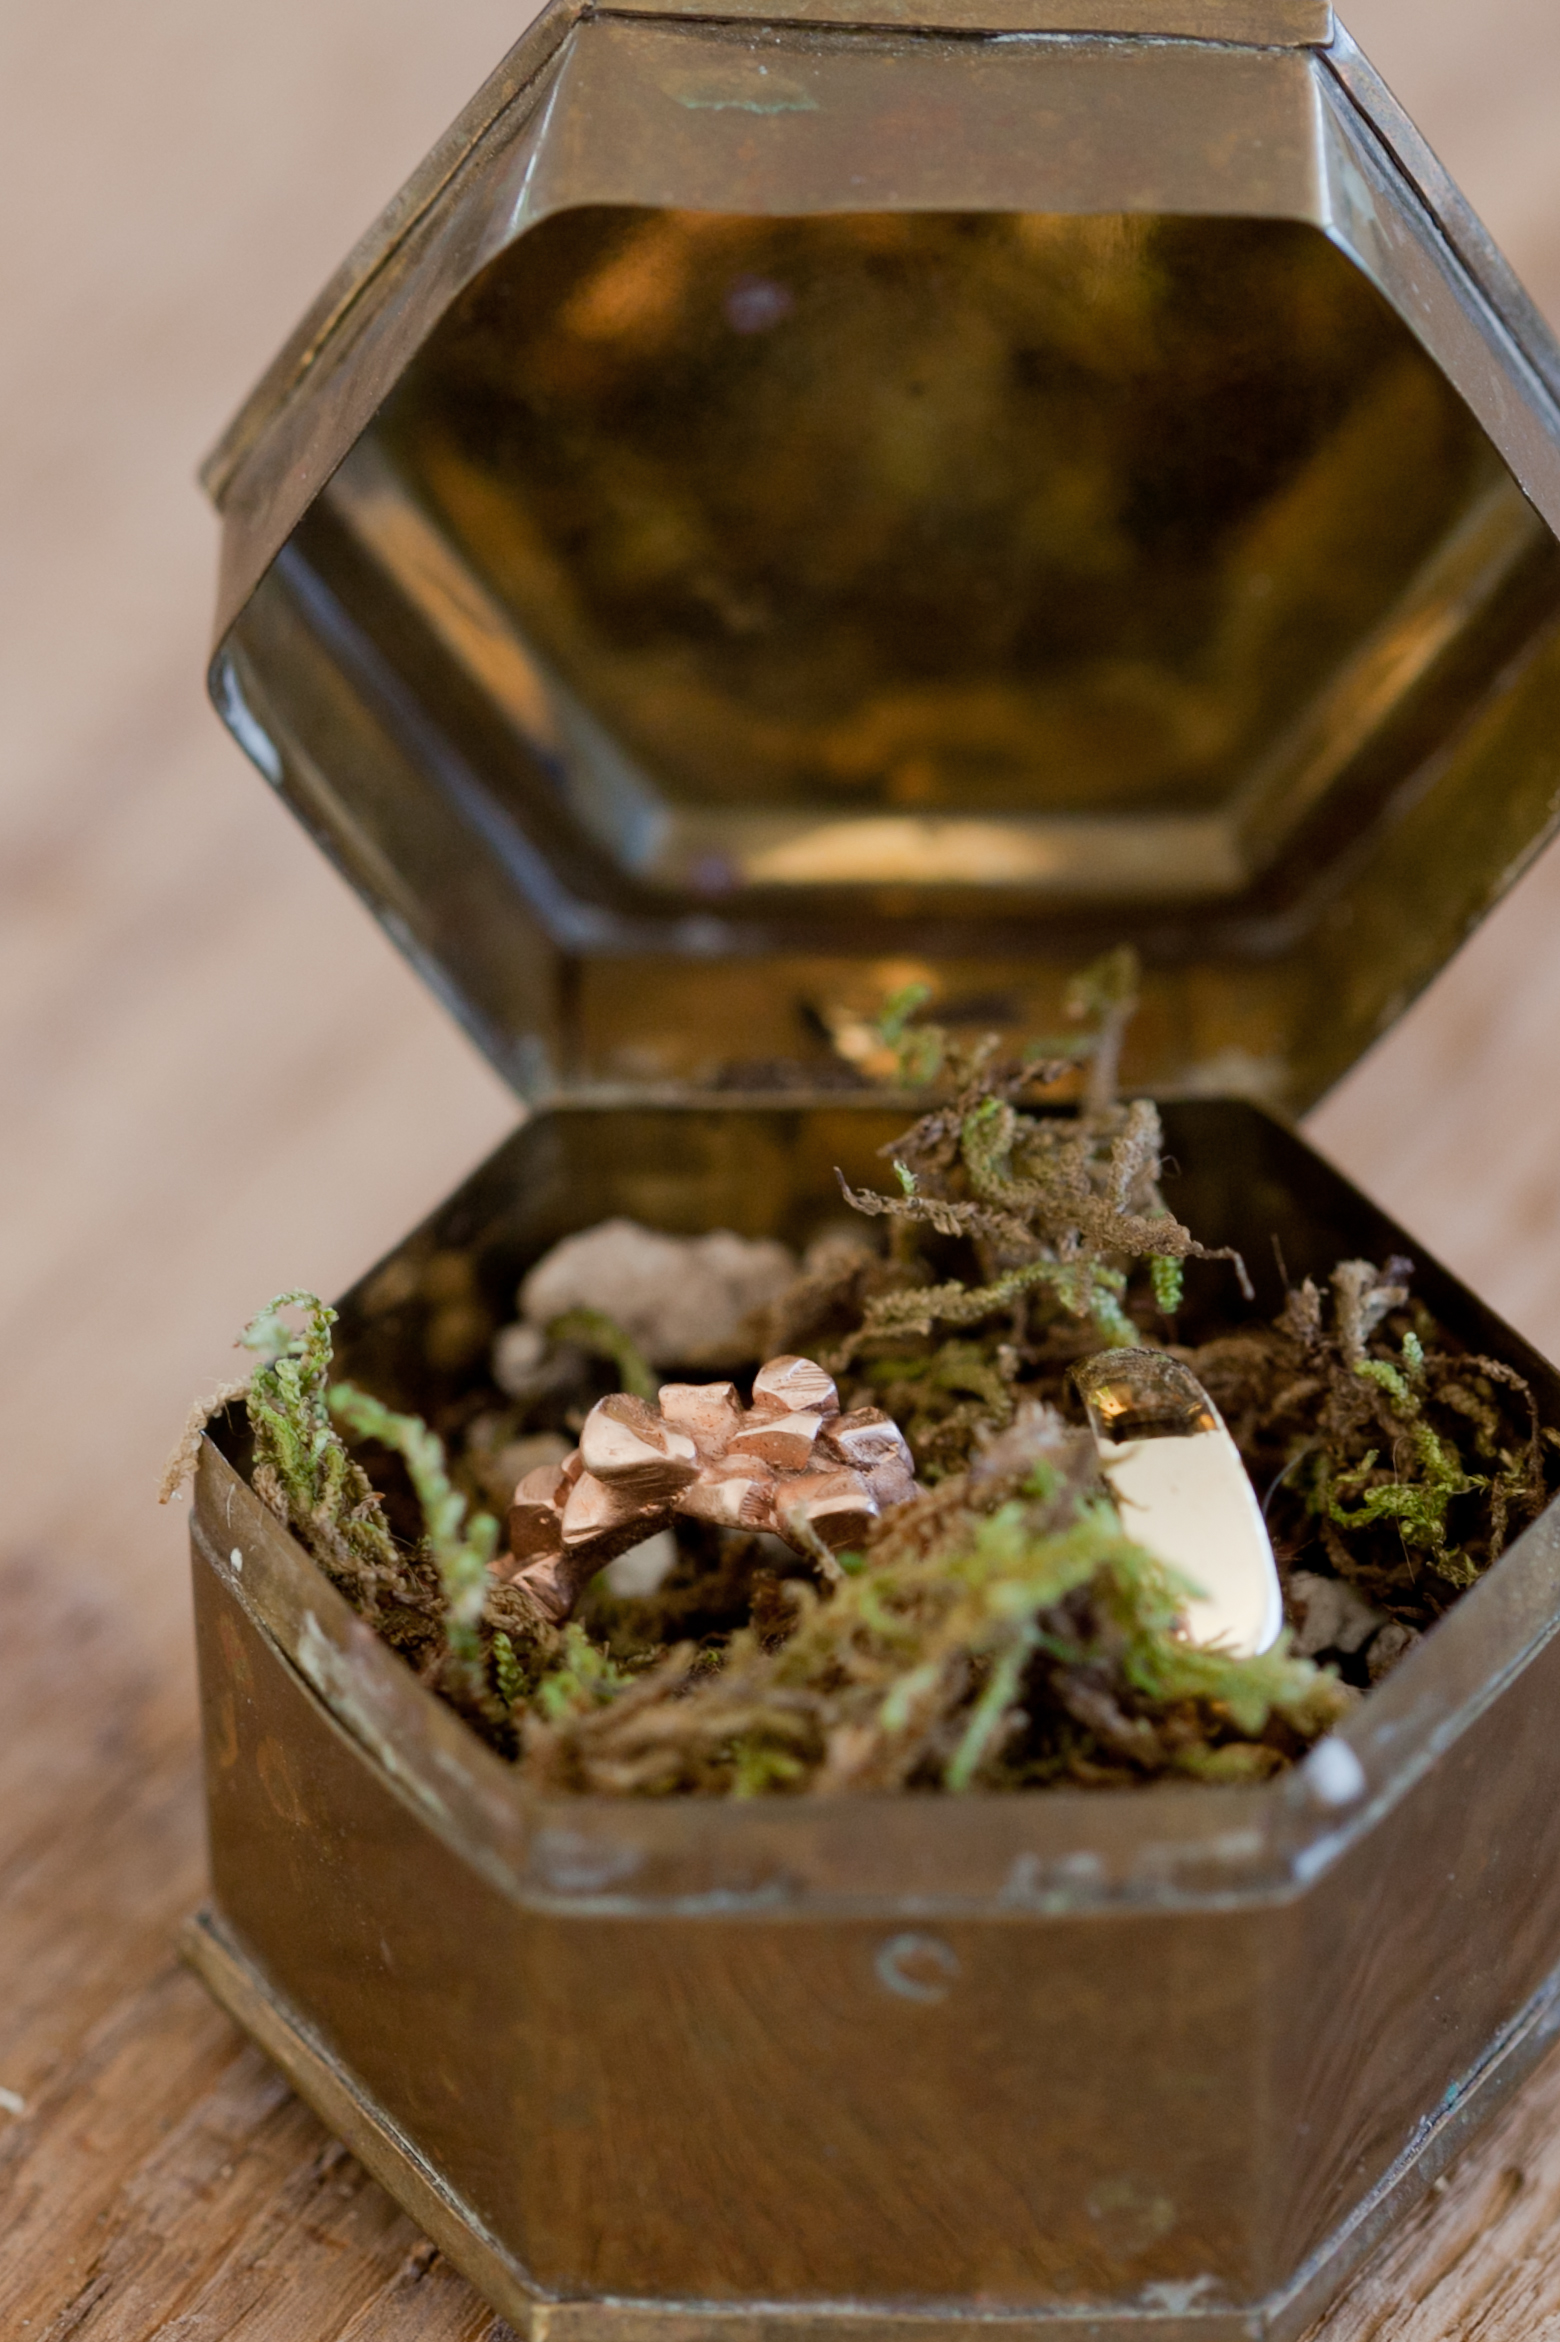
The venue was as stunning as it was significant. And, from the springboard of our space, the details of the day began to emerge. The farm elements were pretty obvious: hay bales, field flowers and farm animal place cards were procured. Barbecue from the local meat shop was a must. But we wanted to "city" it up a bit, keeping in mind our original warehouse idea. Raphael is a writer, so ideas involving paper ephemeral started to crop up: save the date cards were made from a book my grandparents shared in high school, I crafted paper chains fashioned of old books and maps for our alter and typography emerged in all its varied and glorious guises...
He is the writer, and I am the visual artist. We make it work. Here are our tips for planning your DIY day, from the ground up:
1) Over-think the venue.
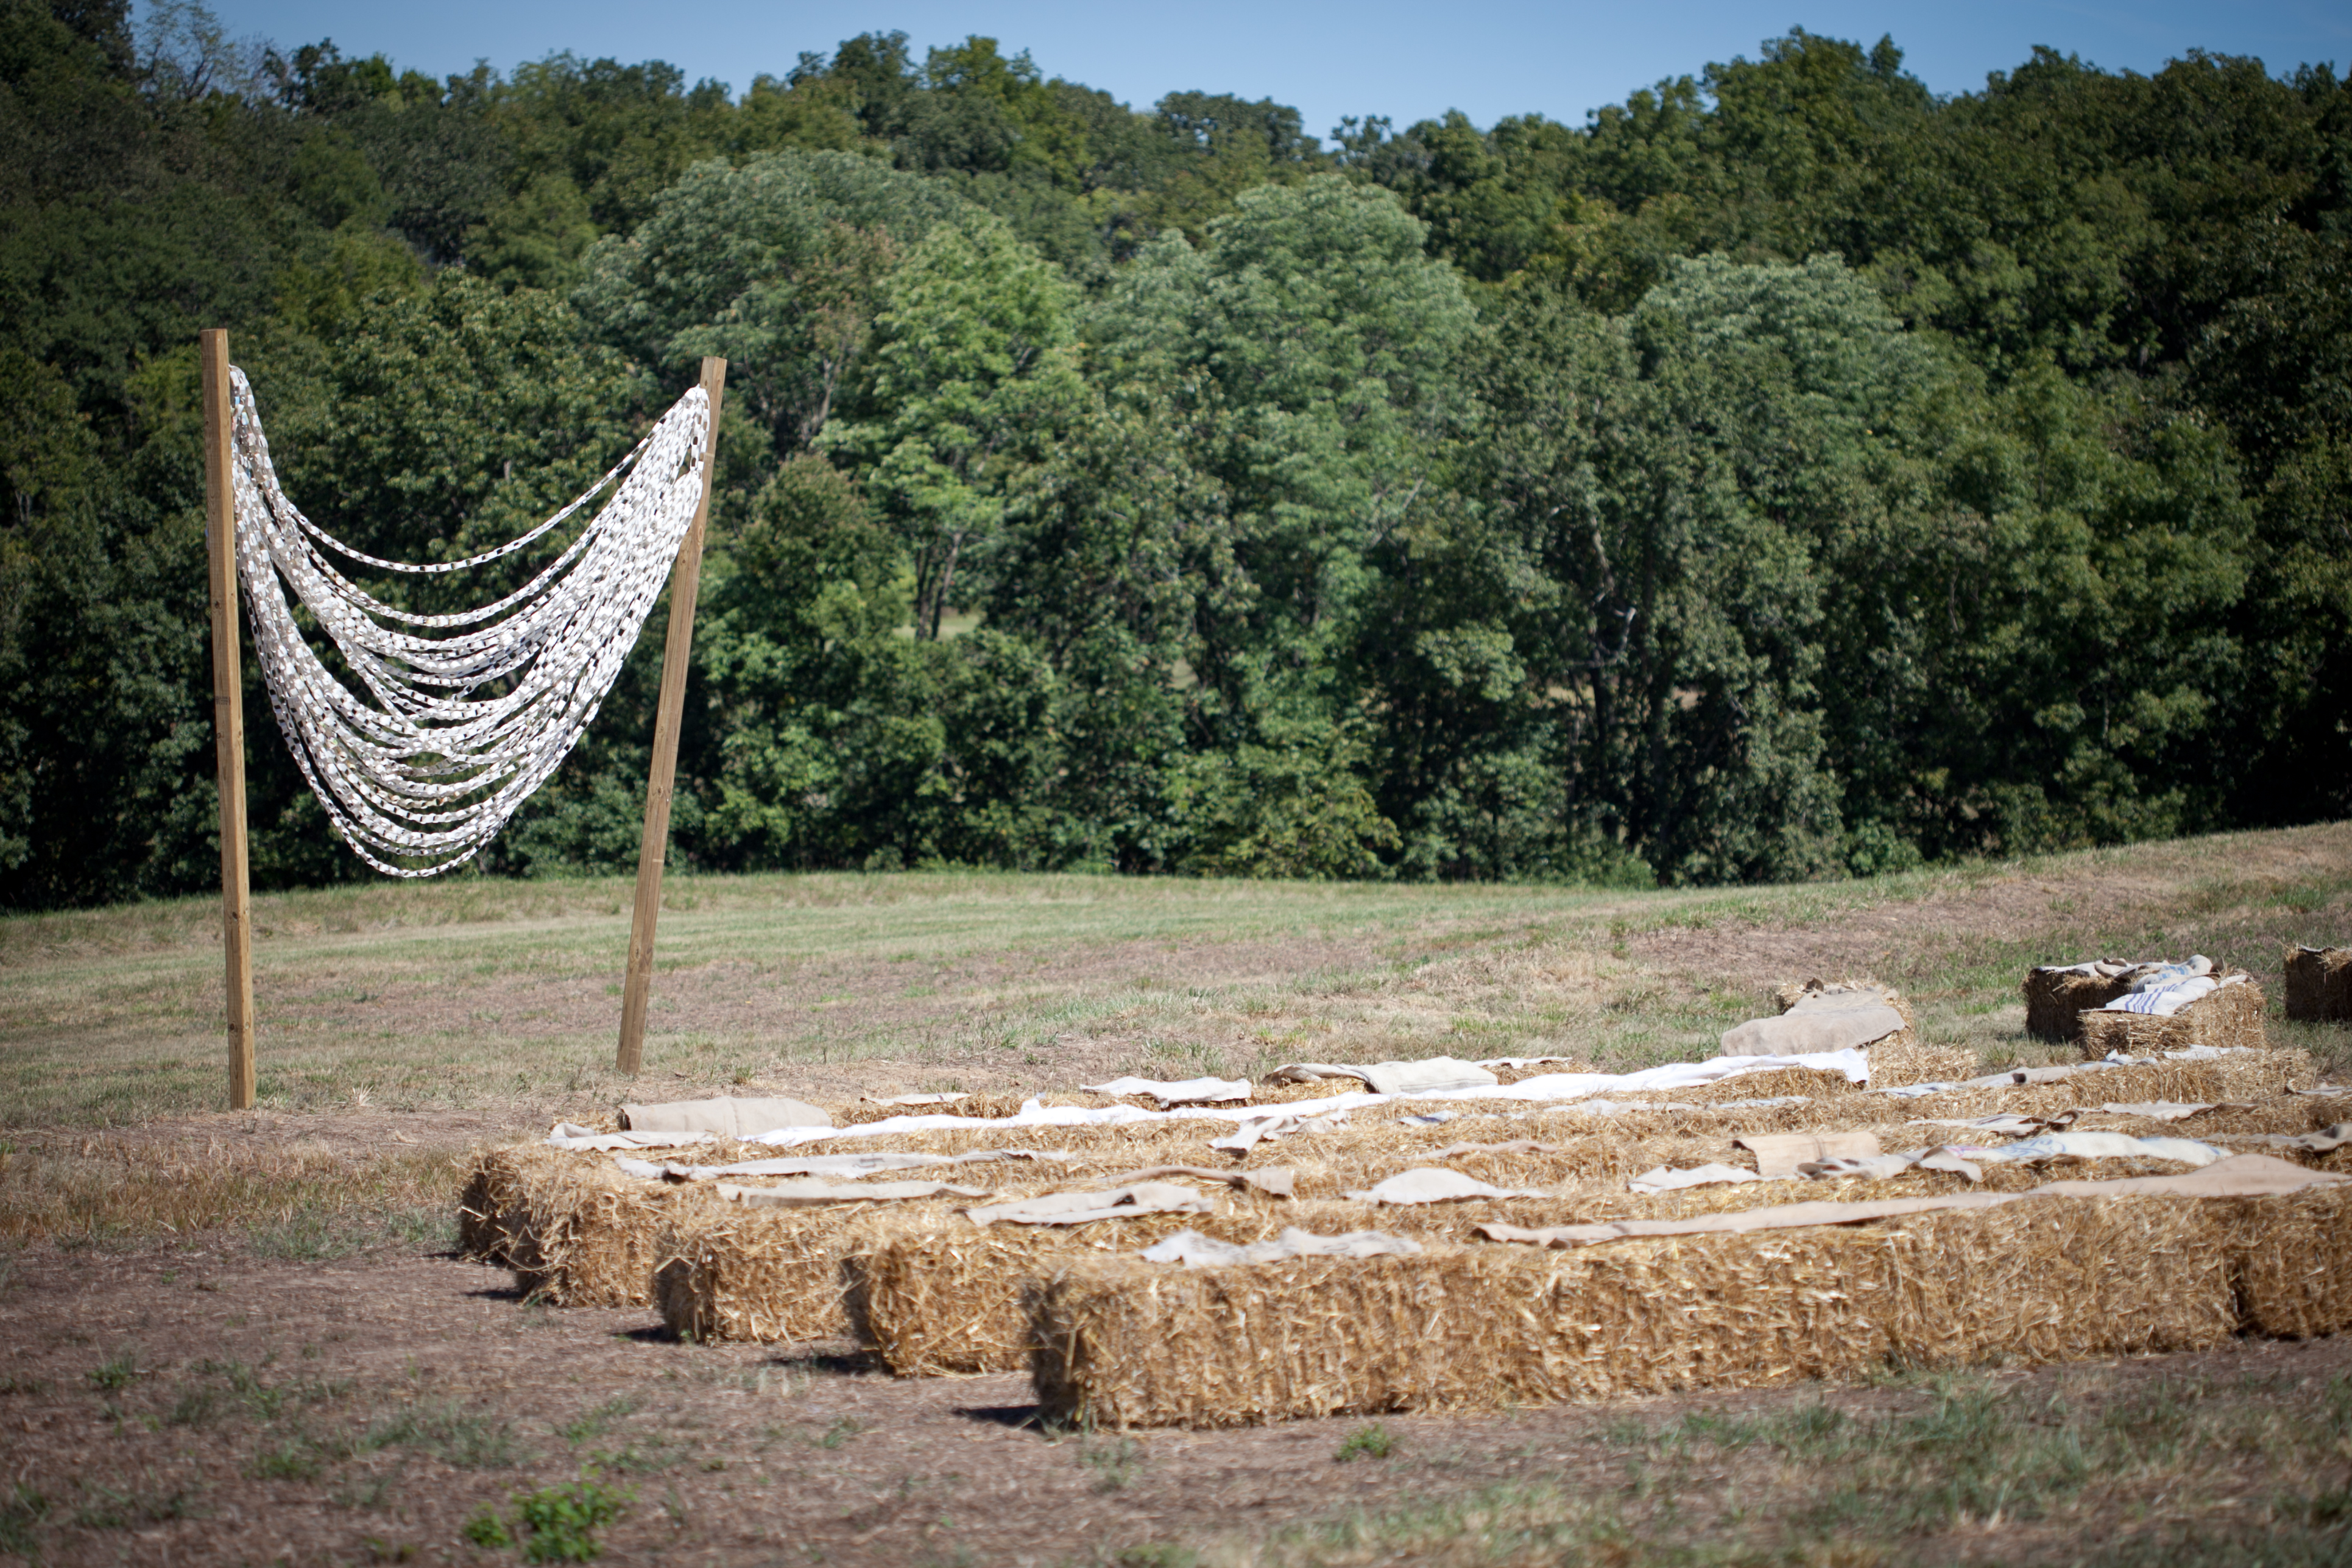
Choosing the venue proved cumbersome. We toured about 10 different spaces and ran into issues all over the place; some had spatial constraints, some were out of budget, and others booked more than one event in the same day, leaving a narrow time frame for use. Ultimately, I wanted to spend more than a day decorating, so that I could participate, and more than five hours celebrating. These are terms that most venues cannot accommodate. And more than any other factor, this is why we chose the field. We started setting up a week out, and the party could last as long as we liked. The field was also personal, so conceptually the party easily fell into place... While an alternative space was the perfect choice for us, one thing to keep in mind when planning: such projects become BYOV (build your own venue). From lighting and refrigeration to toilets and trashcans, we sourced it all. And the process was not any cheaper than choosing a standard, "a la carte" venue.


2) Dream in themes; capital "s."
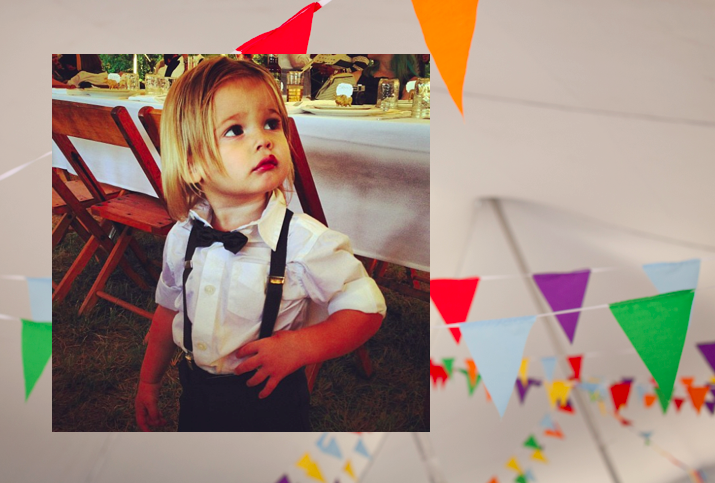
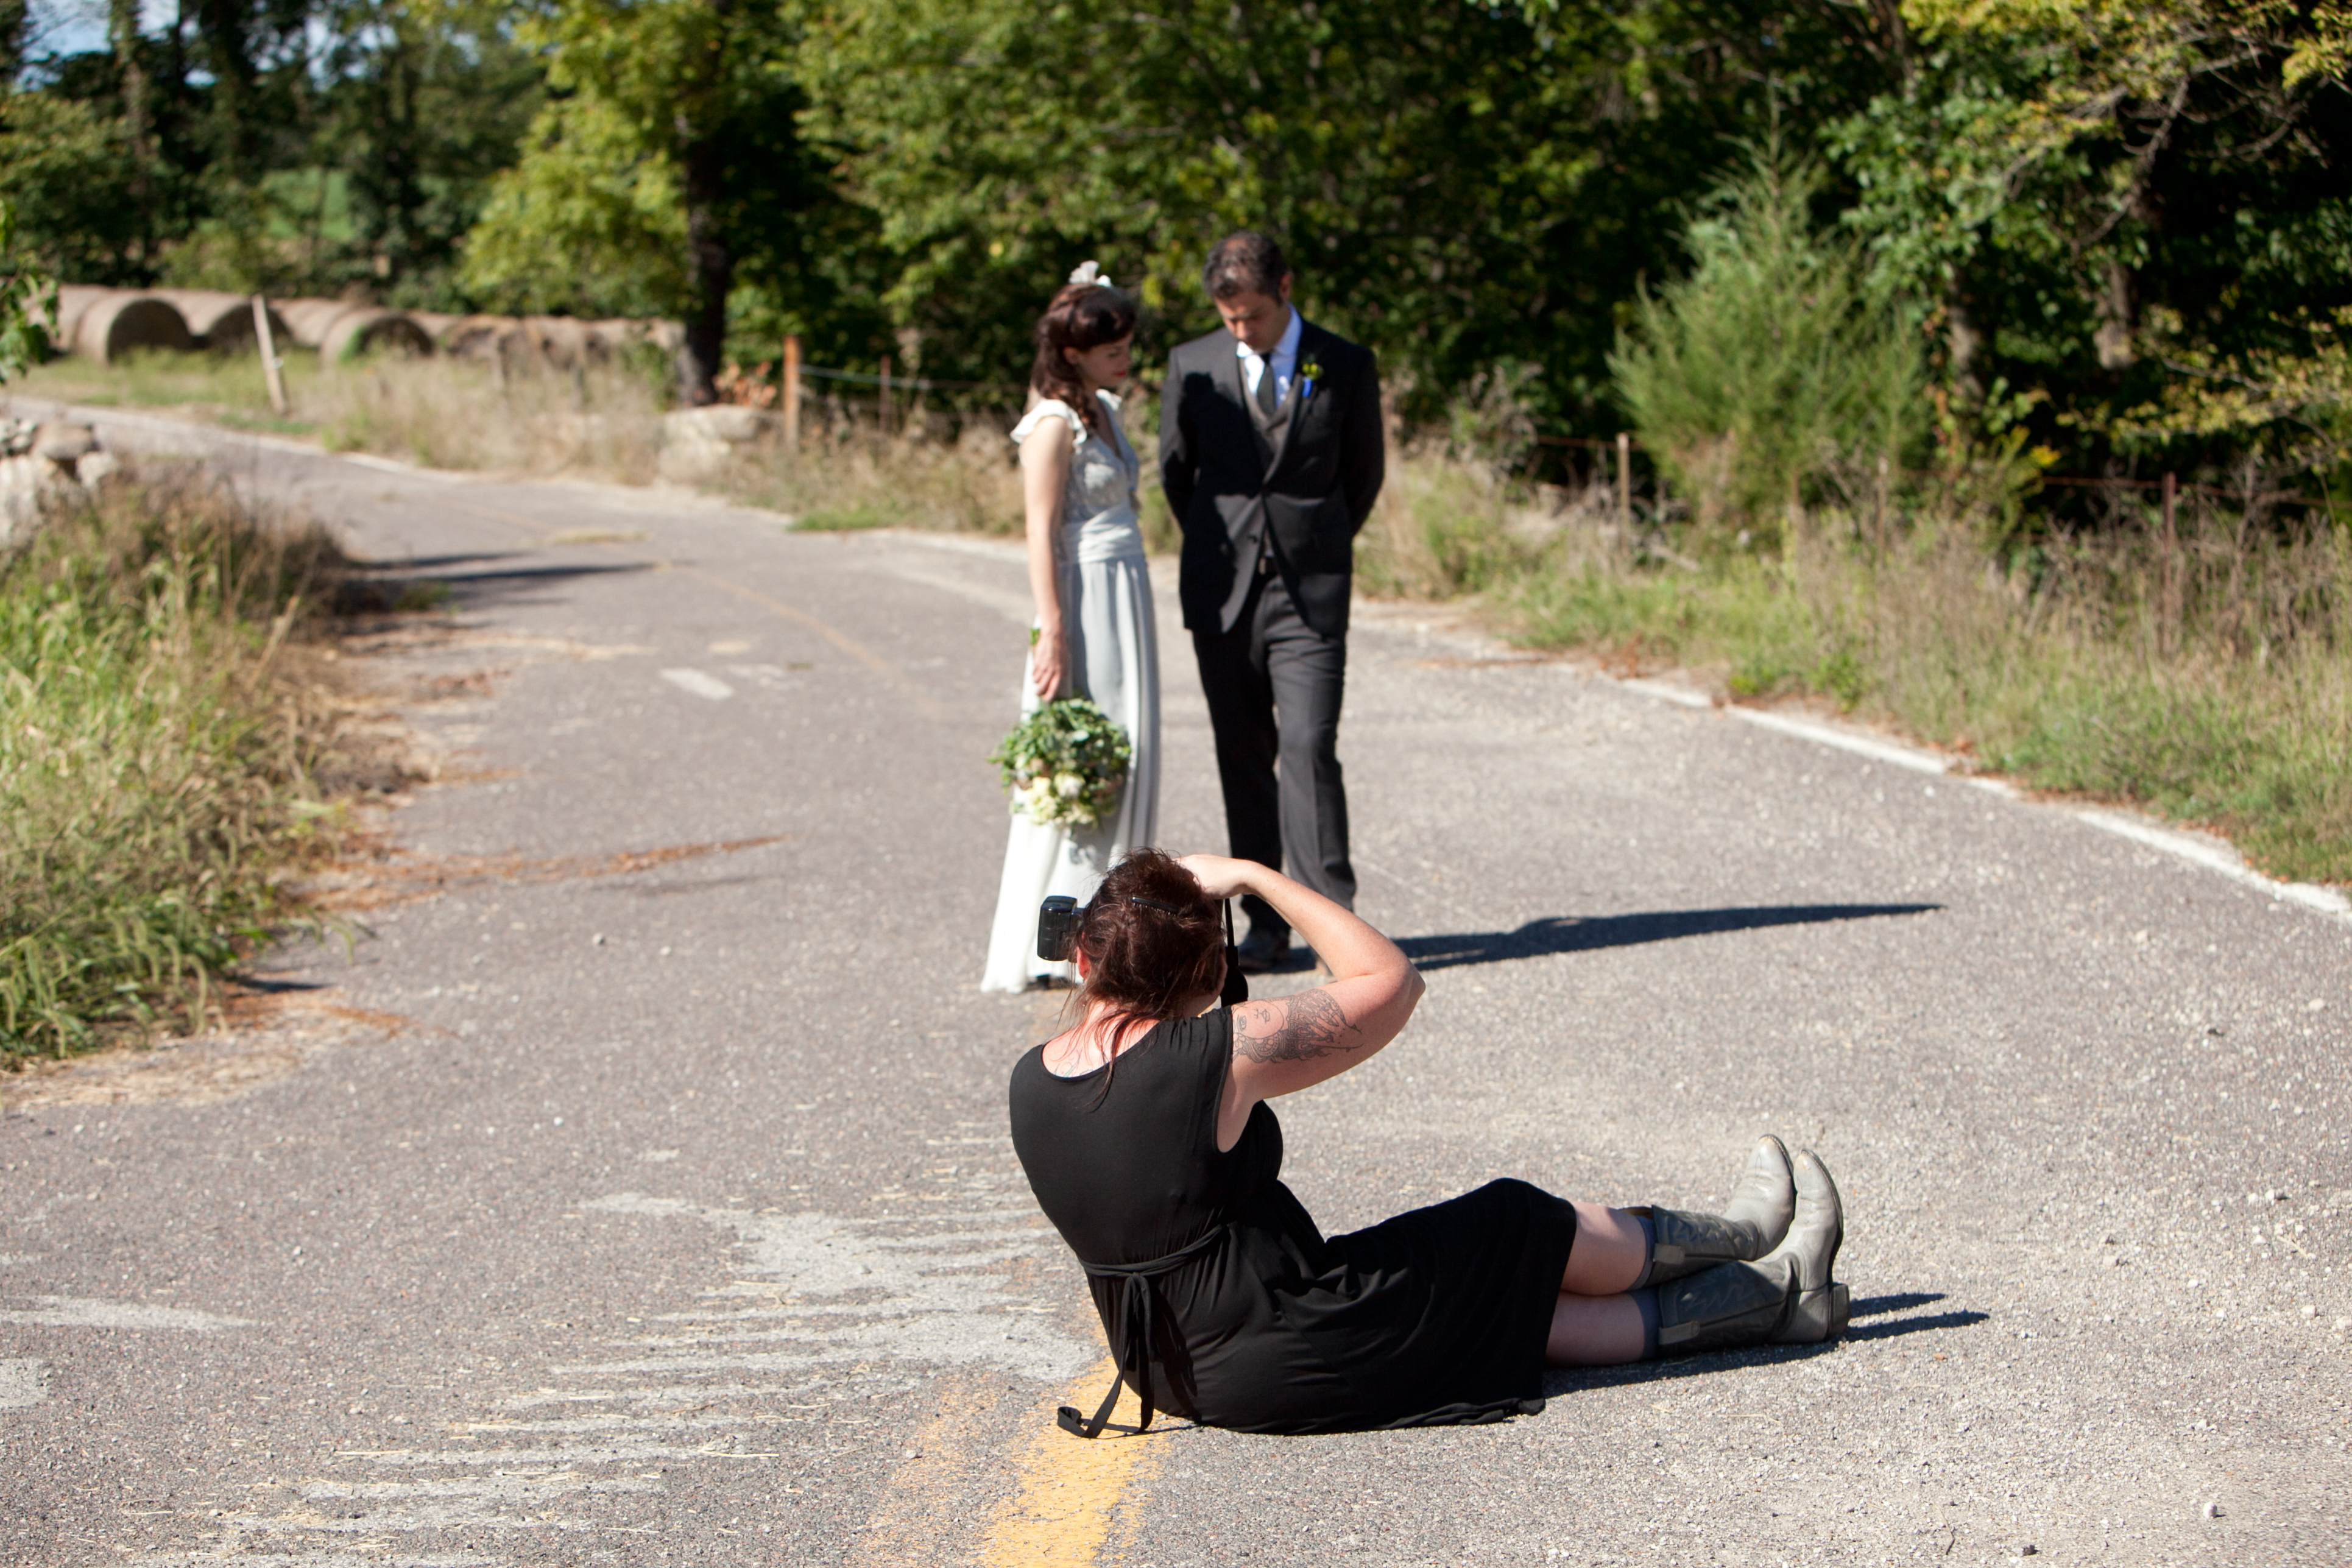
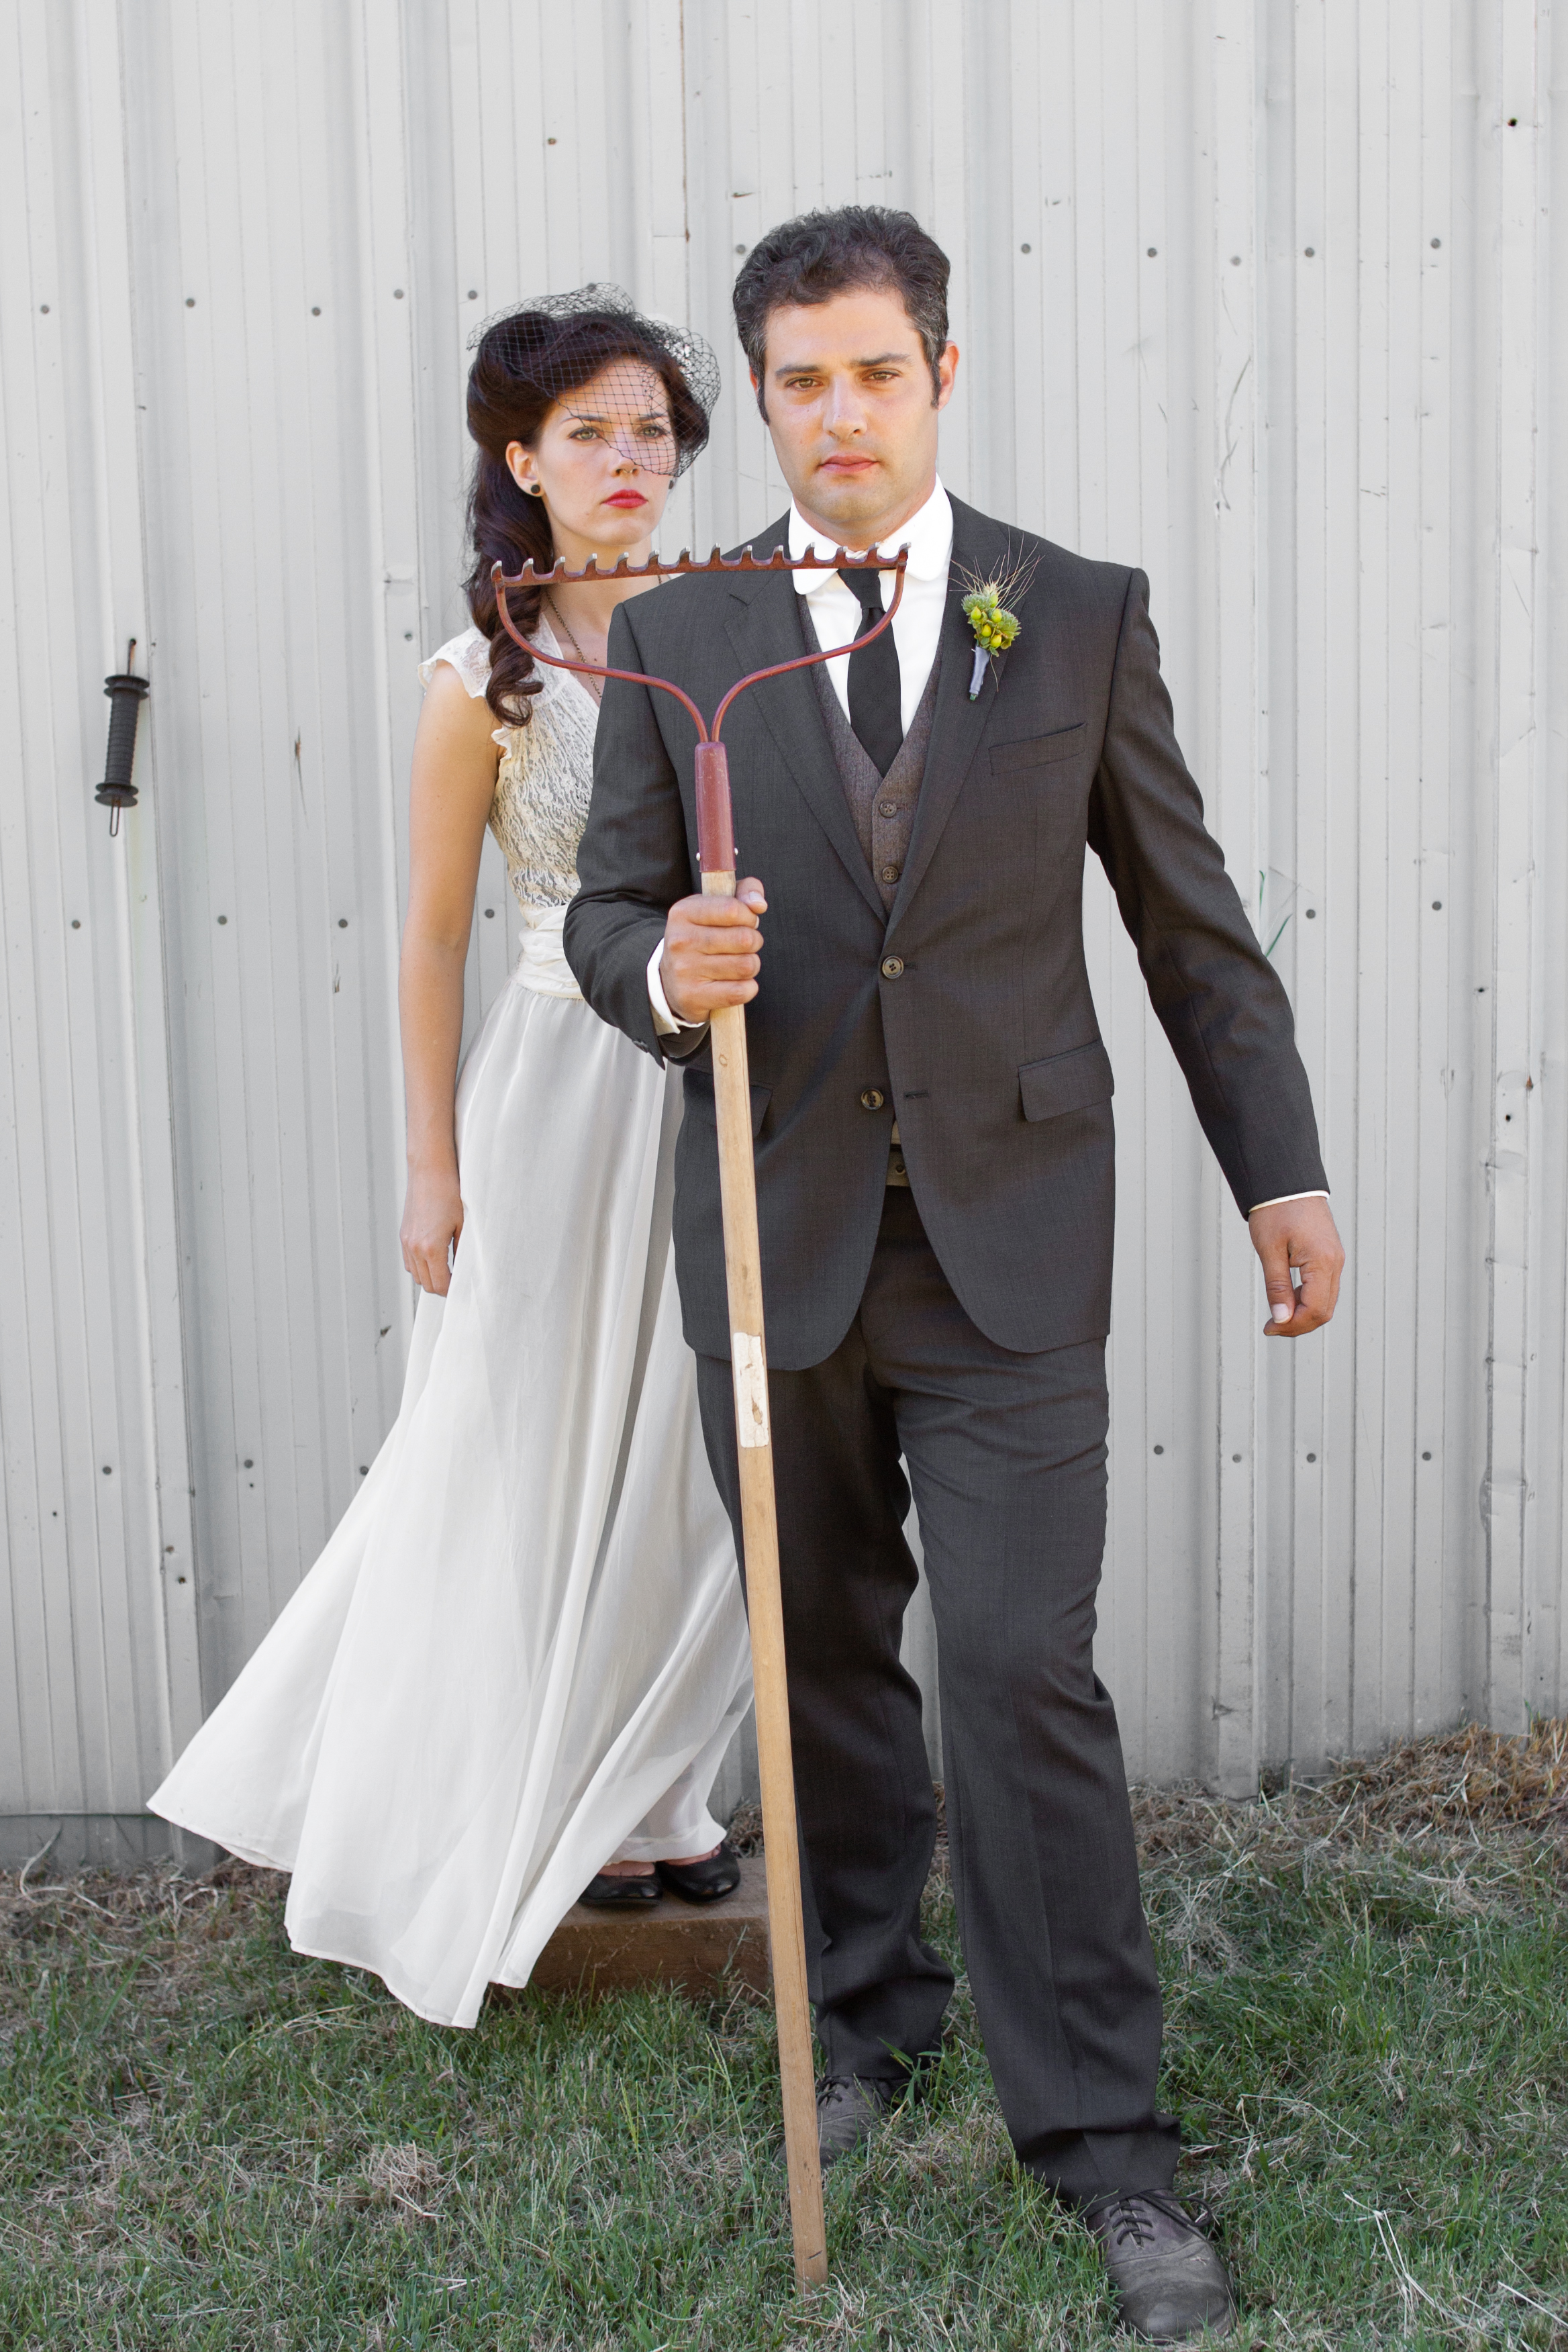
People will create wedding themes about almost anything. Pick your poison, but be sure to pick more than one. We are inspired by letterpress, books and pops of color to name a few, so our wedding reflected this; people are layered and events should be too... One of the best "themes" we had was asking our guests to wear black and white cocktail attire. This helped them navigate the unfamiliar territory of a semi-formal outdoor celebration, while allowing for comfort and variety. Even bridesmaids wore their favorite "little black dresses." Not only did the black and white make for great family photos, it also highlighted any color we used to decorate, namely the bunting.
3) Bend your budget.
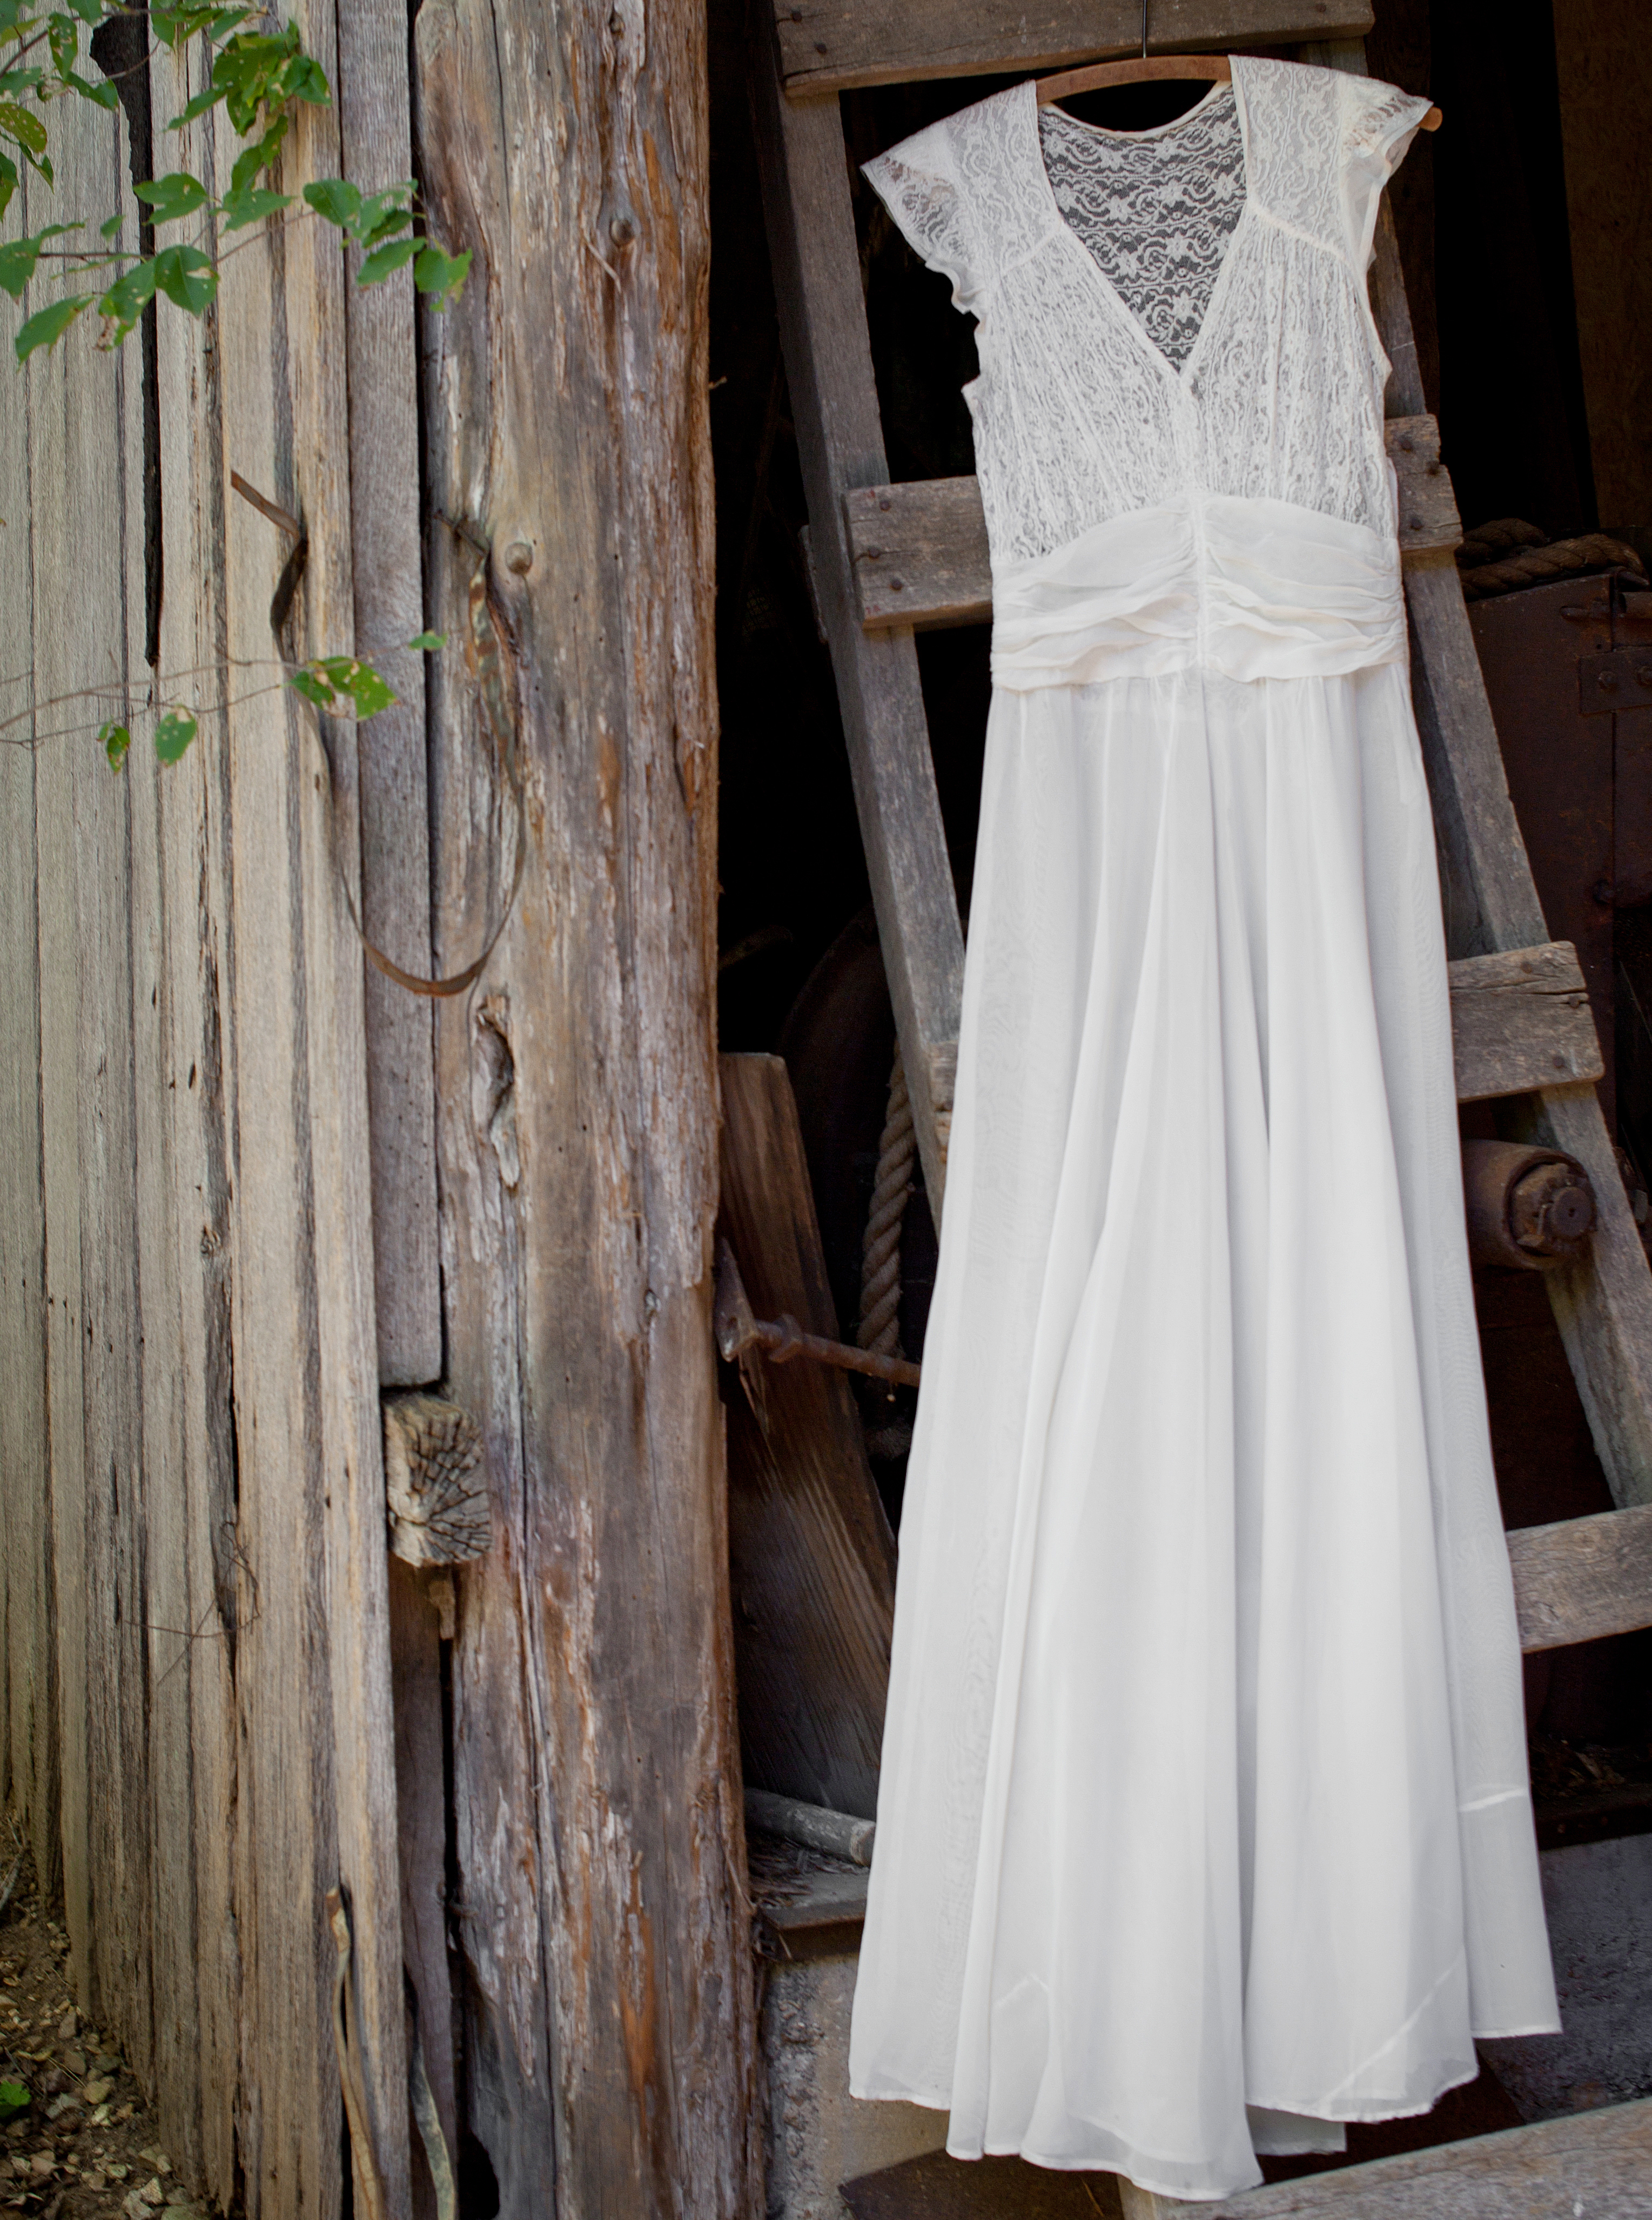
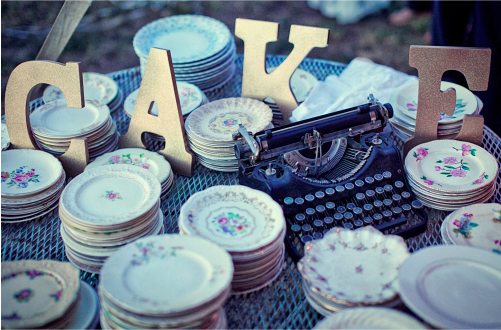
I looked at several different budgeting websites before dolling out dollars, and ultimately none of them made sense for us. Some websites suggested spending no more than one percent on, say, invitations. But, we wanted letterpress paper goods from our neighbors at the Firecracker press. Had we paid attention to the one percent rule, this would have been impossible... But, we made up for our awesome (and reasonably pricy) "paperwork" by having buffet-style barbecue and signature cocktails instead of a full bar. And instead of buying a $5,000 dress, I bought a Victorian period piece for $29 dollars and $5 shoes. After I did some repairs and my friend Carolyn capped the sleeves, it was the dress of my dreams. With half of that leftover cash, I collected over 200 pieces of vintage mix-and-match china, which I can now rent. So, bend your budget to accommodate your needs, not the needs of some formal (and probably antiquated) guide. We ended up having everything we wanted and more, while coming in way, way under budget.


4) Do a little bit every day or at least every week.
Time will still run out. There will be a last minute crisis. And a meltdown is bound to happen. But, by starting early and doing a little here and a little there, the fallout will be minimized. Remember: when all seems lost, resolve the problem and recover quickly so that everyone can move on.


5) Delegate until the cows come home, and enlist the oddballs.
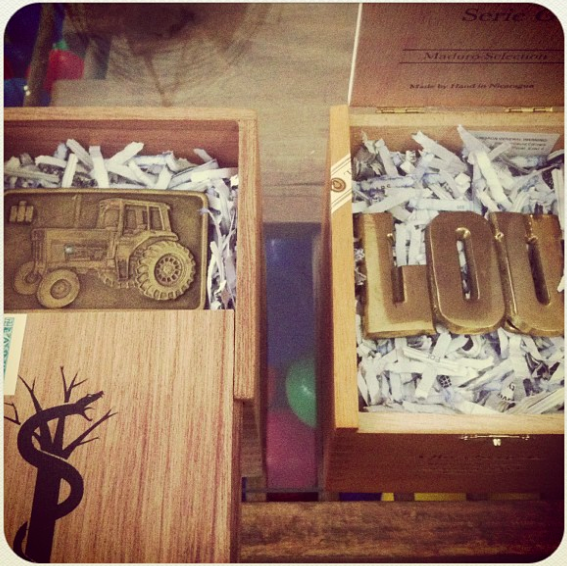
My momma is not a craft-mama. She does, however, have the uncanny ability to follow directions with the acumen of a Navy Seal. With the help of a few tutorials, she went into craft-mission mania, making a "MR&MRS" marquee and a typewriter cake for my husband. What's more, she taught others what they needed to know. The day before the wedding, "handi-craft" mom was the one instructing our crew of family and friends as to how table runners are made of book pages... With mom as the foreman, my camo-clad uncles proved to be the best sweat-shoppers in the land.

6) Hashtag, hashtag, hashtag.
Asking tech-savvy guests to use an Instagram hashtag was an awesome multi-perspective approach to capturing the day, especially considering the two to four-week turnaround rate of some photographers. We even chose a friend's photo to use on our thank you notes a la Printsagram.
7) If you don't know your vendors, get to know them. Quickly.
Micromanagement only goes so far. At a certain point, you have to have reliable people tying the day together... Luckily, we had long term-relationships with almost all of our vendors: I went to high school with some of the Williams' Brothers catering family; Lynn Terry, the photographer, was a bartender at the restaurant where I work; Annie Brahler of EuroTrash is my mentor; and Tommy Hollaran has been playing music in the same scene as my husband for years. The only vendor with whom we weren't familiar was the rental company. But they were affable and weren't sucked into industry racket... We did run into one minor and unmentionable "bad seed" that day. But, having a first (or at least second hand) knowledge of your crew will greatly minimize any havoc exacted by careless participants.
8) Make sure your filler is killer. And then, repurpose it.
Every detail should have a purpose and tell a story. If it doesn't, then take it for what it is, superfluous, and consider reconsidering. The same applies for bridal party gifts and guest favors. One surefire way to separate the necessary from the unnecessary it to think about how they object in question could be used after the wedding. Is it something that could become a decoration in your home? Could it be turned into another craft project? Or, as a last resort, could it be resold on a wedding-centric website? The latter I reserve for the last resort because, while you don't want to clutter up your house with wedding garb, I firmly believe that the items with which you choose to work should be personal enough to keep around. Unless the hassle of reselling your wares is worth the effort, décor is a big part of the budget so make it count both during and after the big day.


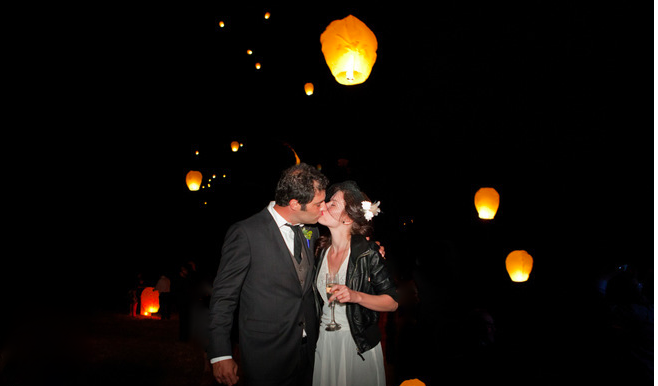
9) Bring a jacket.
Unless you are getting married on a desert island, have a jacket handy. Jackets are under-appreciated, and often wholly necessary, accessories in the wedding world. The one I chose was cropped with black leather; two of our friends found it on the road and threw it in our breezeway a couple of weeks before the event, so I guess it chose me. Either way, though we were at the tail end of summer, the temperature dropped into the sixties that night, and I would have been uncomfortable without it.
10) Give up.
Being the bride and the wedding planner is tricky, particularly the day of when tables need to be set but one's hair has to be done. So at some point, give up. Put all frets aside, and enjoy the damn day.


0 comments:
Post a Comment